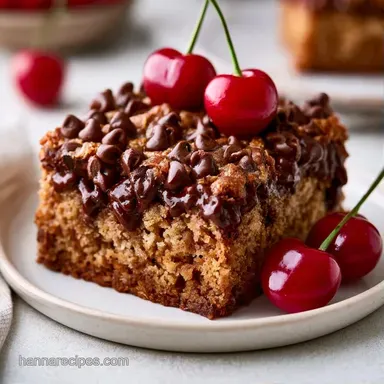
Chocolate Chip Cherry Bars in 40 Minutes
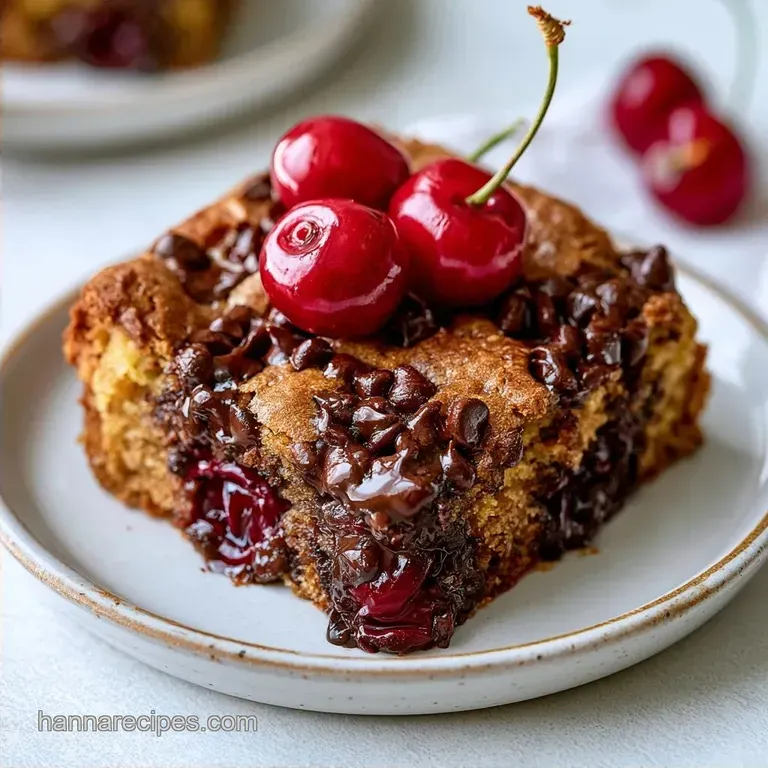
- Time: 10 min active + 30 min baking
- Flavor/Texture Hook: Chewy, fudge like base with tart fruit pops
- Perfect for: Quick dessert cravings or bake sales
The smell of melted butter and vanilla hitting a hot oven is honestly my favorite part of the day. I spent a while wondering why some fruit bars end up feeling like a weird, damp sponge while others stay dense and chewy. It usually comes down to how the fruit is handled and the type of sugar used.
The goal here is a dense, blondie style base that can handle the moisture of the cherries without collapsing. You get a deep, mahogany color and a texture that's halfway between a cookie and a brownie.
These Chocolate Cherry Bars bring together the richness of semi sweet chocolate and the punch of maraschino cherries. It's a straightforward process, but a few small tweaks make the difference between a gummy bar and a chewy one.
What Makes These Bars Work
- Brown Sugar Weight: Using a high ratio of brown sugar creates a denser crumb and adds a molasses note that complements the cherries.
- Cherry Prep: Patting the cherries dry stops excess syrup from leaking into the dough, which prevents the center from becoming soggy.
| Method | Time | Texture | Best For |
|---|---|---|---|
| Melted Butter (Fast) | 40 mins | Chewy & Dense | Quick cravings |
| Creamed Butter (Classic) | 60 mins | Lighter & Cakier | Traditional feel |
Essential Kitchen Tools
Minimal equipment is required for this recipe. Just grab a large mixing bowl and a strong spatula. For consistent results, I recommend weighing your flour with a digital scale; using a measuring cup can often result in over packing, which leads to dry edges.
Be sure to use a 9x9 inch baking pan. Switching to a 9x13 pan will cause the batter to spread too thin, resulting in crispy, overbaked wafers rather than chewy bars. I always line my pan with parchment paper, ensuring there is a bit of overhang on the sides.
This makes it simple to lift the entire slab out once cooled for effortless slicing.
The Ingredient List
The base is essentially a chocolate chip cherry shortbread bars hybrid. The melted butter provides a more cohesive, fudge like structure than creamed butter would. For the cherries, maraschino works well because they have a consistent sweetness, but just make sure they are patted dry.
If you're looking for a more traditional fruit flavor, you can swap the maraschinos for dried tart cherries. Just soak them in warm water for 10 minutes and drain them well first. For the flour, I recommend the "spoon and level" method described by King Arthur Baking to avoid adding too much.
Recipe Specs
| Original Ingredient | Substitute | Why It Works |
|---|---|---|
| Unsalted Butter | Coconut Oil | Comparable lipid profile. Note: Imparts a mild coconut flavor |
| Brown Sugar | Coconut Sugar | Comparable moisture levels. Note: Creates a slightly coarser texture |
| All Purpose Flour | 1:1 GF Blend | Offers necessary stability. Note: Result may be a bit more fragile |
| Semi Sweet Chips | Dark Chocolate (70%) | Identical shape. Note: Reduced sugar with a deeper bitter edge |
- 1. Butter Temperature
- Make sure the melted butter drops to roughly 90°F (32°C) prior to mixing in the egg.
- 2. Pan Size
- Use a precise 9x9 inch pan to keep the thickness at exactly 1 inch.
- 3. Bake Window
- Remove the pan at the 30-minute mark to prevent the middle from over drying.
Step-by-step Baking Guide
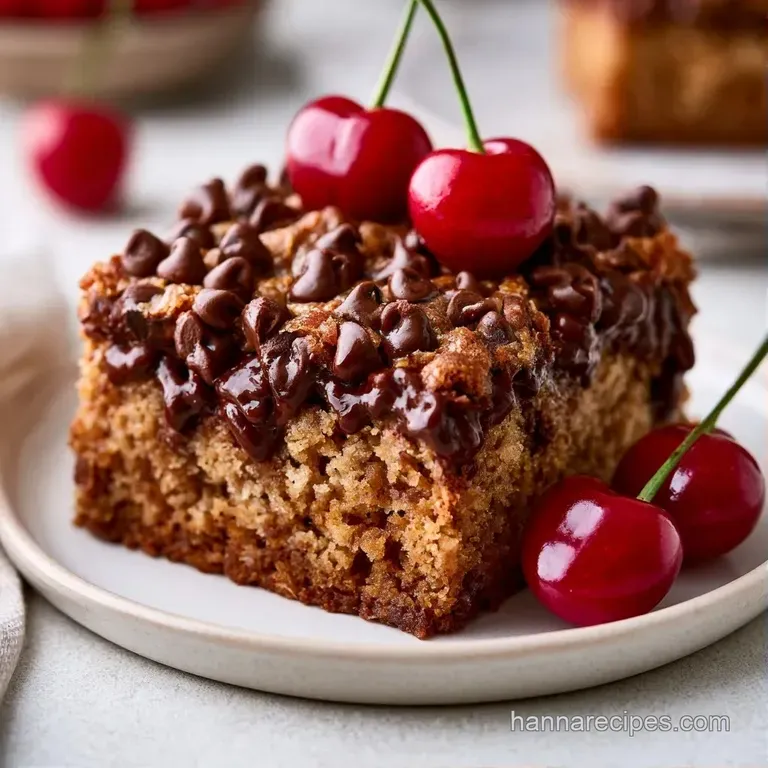
Getting Started
Preheat the oven to 350°F (175°C). Lightly grease a 9x9 inch pan and line it with parchment paper, leaving some overhang on the sides to make removal easier.
Combining the Wet Ingredients
In a large bowl, beat the brown sugar and melted butter until the mixture is smooth. On medium speed, stir in the vanilla extract and egg until the batter looks glossy.
Adding the Dry Ingredients
Sift in the baking soda, salt, and flour. Using a spatula, fold the ingredients together until only a few streaks of flour remain; stop here to ensure the bars stay chewy.
Stirring in the Mix-ins
Gently fold in the dried chopped cherries and chocolate chips. Distribute the cherries evenly to avoid any large clusters of fruit.
Baking the Bars
Press the dough firmly into the prepared pan. Bake for 30 minutes until the edges pull away slightly from the sides and the top is a deep golden brown.
Cooling and Setting
Transfer the pan to a wire rack and let the bars cool completely. Slicing them while hot may make the centers appear underbaked and cause them to fall apart.
Avoiding Common Baking Issues
When things go wrong with these Chip Cherry Bars, it's usually a moisture problem. If the center feels gummy, it's often because the cherries weren't dried enough or the oven temperature was too low.
Another common issue is the chocolate chips sinking to the bottom. This happens if the batter is too thin or if the chips are added too aggressively. Toss the chips in a teaspoon of flour before folding them in to give them some "grip" in the dough.
Fixing a Gummy Center
This usually happens from excess cherry syrup. Next time, use a paper towel to squeeze the chopped cherries before adding them.
Solving Sinking Chips
Ensure your butter is slightly cooled and not boiling hot when mixed with sugar. This keeps the batter thick enough to suspend the chips.
Preventing Burnt Edges
If the edges brown too fast, move the rack to the center of the oven.
| Problem | Fix |
|---|---|
| Gummy center | Pat cherries drier |
| Sinking chips | Toss chips in flour first |
| Burnt edges | Move pan to center rack |
Storage and Waste Tips
Store these treats in a sealed container and refrigerate for a maximum of 5 days. You'll find they're even more delicious the following day as the texture stabilizes and the flavors meld. If you need them to last longer, they stay fresh in the freezer for 3 months.
Simply wrap each piece in plastic film before tucking them into a freezer safe bag.
To enjoy a frozen bar, thaw it in the refrigerator overnight or heat it in the microwave for 10 seconds. To avoid waste, don't throw away any remaining cherry syrup from the jar. Instead, swirl a spoonful into your morning oats or drizzle it over pancakes for a fast breakfast.
Ways to Customize
For a nuttier profile, add 1/2 cup of chopped walnuts or pecans. This adds a crunch that breaks up the softness of the base. If you want something less sweet, use 70% cocoa dark chocolate chips and reduce the brown sugar by 20 grams.
You can also try a white chocolate twist by swapping the semi sweet chips for white chocolate. This makes the bars taste more like a dessert tart. If you're in the mood for more cherry focused treats, you might enjoy this easy cherry pie recipe for a larger crowd.
For those who want a more "cookie like" feel, you can scoop this dough into small balls and bake them as individual Chocolate Chip Cherry Bars for about 10-12 minutes. Just keep an eye on them since they'll bake much faster than the pan version.
Best Ways to Serve
While these bars are delicious on their own, they really shine when paired with something creamy. A scoop of No Churn Cherry Ice Cream recipe on the side offers a refreshing temperature contrast.
To elevate the experience, serve a warm bar topped with a dollop of whipped cream and a pinch of sea salt. The saltiness balances the sweetness of the maraschino cherries and makes the chocolate flavors stand out.
Coffee is another fantastic pairing. A bold espresso or a dark roast helps cut through the richness of the brown sugar and fruit, making it the perfect treat for a relaxing Sunday afternoon.
- For a firmer set
- chill the sliced bars for 30 minutes before serving.
- For a fudgier center
- pull the pan out at 28 minutes.
- For extra fruitiness
- increase cherries to 1.5 cups and reduce flour by 1 tablespoon.
Stick with full fat butter and real sugar rather than using low-fat alternatives or substitutes. The specific chew of these Chocolate Cherry Bars depends on the fat from the butter and the moisture provided by the brown sugar.
Follow the timing closely, and you'll have a dessert that tastes incredibly complex despite only taking 40 minutes.
Recipe FAQs
Can I use this as my primary cherry dessert?
Yes, it is a rich, chewy alternative to traditional pies. If you enjoyed the fruit-to-cream balance in our creamy cherry recipe, you will see how the moisture control differs for these dense, baked bars.
How to store these bars to maintain texture?
Place them in an airtight container in the fridge. This keeps them fresh for 5 days and allows the flavors to settle. You can also freeze individually wrapped bars for 3 months.
Why did my bars crumble when sliced?
You likely cut them before they cooled. Let the pan sit on a wire rack until completely cold to ensure the bars set. Slicing while warm breaks the internal structure.
Is it true that you should beat the flour until the batter is completely smooth?
This one's false: Fold the mixture until only a few streaks of flour remain. Overmixing develops too much gluten, which turns a chewy bar into a cakey one.
Chocolate Cherry Bars