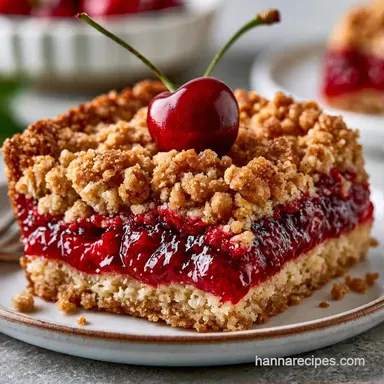
Old Fashioned Cherry Pie Crumb Bars
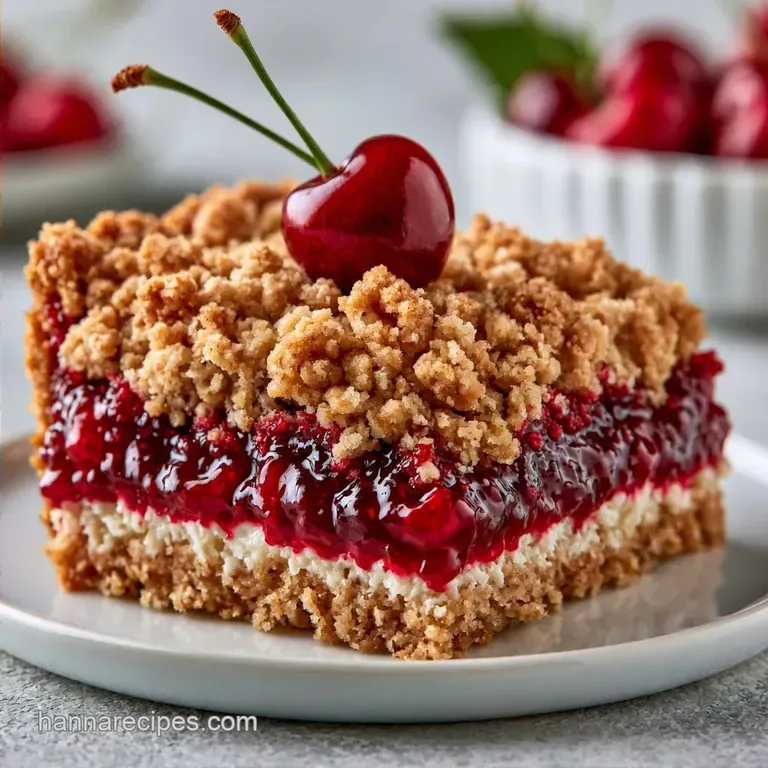
- Time: 15 min active + 2 hours 35 mins baking/cooling
- Flavor/Texture Hook: Buttery, sandy crumble with a tart fruit center
- Perfect for: Potlucks, bake sales, or a quick weekend treat
The aroma of toasted butter and simmering tart cherries is enough to draw everyone into the room. I once attempted fruit bars without that initial bake, only to end up with a soggy, sponge like base. That failure proved that a small amount of extra oven time at the start makes all the difference.
These bars offer all the flavor of a classic pie without the hassle of rolling out dough. You'll get a hearty, crumbly crust and a deep ruby filling that stays perfectly set.
Whether you opt for the convenience of canned filling or the brightness of fresh cherries, these bars maintain their crunch. They are firm enough to eat by hand, yet they dissolve effortlessly on the tongue.
Easy Cherry Pie Crumb Bars
The beauty of this recipe lies in how we handle the moisture. Most fruit bars fail because the juice seeps into the dough before it can set. By par baking the base for 10 minutes, we create a barrier that keeps the crust firm.
This method is similar to the logic behind a homemade crust pie, where the goal is to prevent a soggy bottom. It ensures that every bite has a distinct snap.
- The Par Bake Shield
- A short initial bake sets the flour and fat, creating a seal against the filling.
- One Dough Logic
- Using the same dough for the base and top keeps the flavor consistent and cuts down on dishes.
- Acid Balance
- Adding lemon juice to the canned filling cuts through the sugar, making the cherries taste brighter.
Recipe Specs
You can choose between two methods depending on your preference. Canned filling offers a "fast" alternative, whereas using fresh cherries and a cornstarch slurry is the "classic" way.
| Style | Prep Time | Consistency | Effort |
|---|---|---|---|
| Fast (Canned) | 15 minutes | Uniform and glossy | Low |
| Classic (Fresh) | 45 minutes | Chunky and tart | Medium |
Now, let's go over the ingredients required to get started.
Ingredient Breakdown
For the dough, you want butter that is softened but not oily. If it's too melty, your crumble will turn into a flat cookie instead of sandy clumps. For the best results, I recommend using a high-quality all purpose flour from King Arthur Baking to ensure the protein levels keep the structure stable.
| Ingredient | What It Does | Best Swap |
|---|---|---|
| Unsalted Butter | Provides richness and structure | Coconut oil (solid) |
| Brown Sugar | Adds molasses flavor and chew | Coconut sugar |
| All Purpose Flour | Builds the crumb structure | Almond flour (denser) |
| Cherry Pie Filling | The main fruit body | Fresh cherries + cornstarch |
Essential Kitchen Tools
You don't need fancy gear for this. A standard 9x9 inch baking pan is the goal. If you use a larger pan, your bars will be thinner and might overbake.
Parchment paper is non negotiable here. Make sure you leave an overhang on the sides so you can lift the entire block of bars out of the pan once they're cool. A simple spatula is all you need to smooth the cherries.
Step-by-step Baking
Let's begin the preparation. To keep the layers distinct, follow these steps precisely.
Phase 1: The Foundation
- Set your oven to 350°F (175°C). Line a 9x9 inch baking pan with parchment paper, leaving an overhang.
- Mix the softened butter and brown sugar. Note: Use a sturdy spoon or a hand mixer until the mixture is smooth.
- Blend in the flour and salt until a sandy, clumped dough forms.
- Set aside 3/4 cup of the dough for the topping.
- Press the rest of the mixture firmly into the bottom of the pan.
- Bake for 10 minutes until the edges are just barely set.
Phase 2: The Fruit Layer
- Combine the lemon juice and almond extract with the cherry pie filling in a small bowl.
- Spread the cherry mix over the warm, par-baked crust.
- Level it to the edges with a spatula.
- Evenly sprinkle the saved crumble dough over the cherries. Note: Do not press down, otherwise the topping will become a solid sheet.
Phase 3: The Final Crisp
- Bake for 25-30 minutes until the topping is deep golden brown and the filling bubbles around the edges.
- Let the bars cool in the pan for 2 hours until completely cold to the touch.
- Optional: Whisk together powdered sugar, milk, and vanilla extract to make a glaze and drizzle it over the top.
Fixing Common Errors
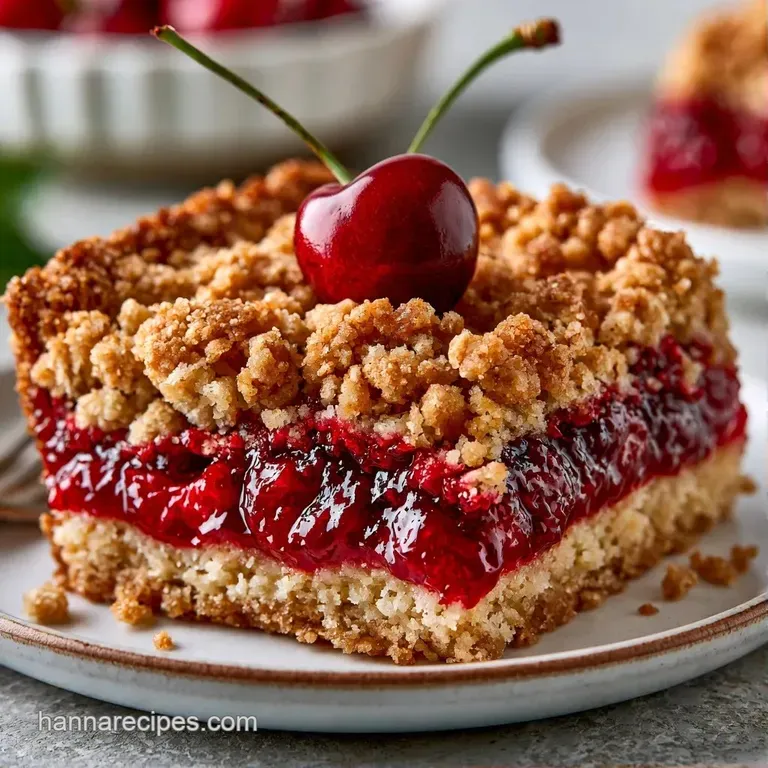
Baking can be a bit finicky, and fruit bars have a few specific failure points. Usually, it's a matter of moisture control or temperature.
The Filling is Too Runny
This happens most often when using fresh fruit without a thickener. The juice thins out in the oven and sinks into the crust. If you swap canned filling for fresh, you must add a bit of cornstarch to the fruit.
The Topping Melted
If your crumble looks like a flat glaze instead of pebbles, you likely pressed the dough too hard into the fruit. Let the crumble sit loosely on top so the air can circulate.
The Bars Stick
If you didn't use parchment paper or the overhang was too short, the bars can cling to the corners. Use a thin knife to gently loosen the edges before lifting.
| Problem | Fix |
|---|---|
| Soggy Bottom | Par bake the crust for 10 mins |
| Flat Topping | Sprinkle loosely, don't press |
| Sticking | Use parchment paper with overhang |
Pairing Suggestions
Since these bars are quite decadent, they pair beautifully with items that offer a cool or sharp contrast. A serving of plain whipped cream or vanilla bean ice cream works perfectly.
To offset the sweet cherry flavor, enjoy them with a cup of bold black coffee or a tart Earl Grey tea. If you're looking for a more traditional fruit dessert, you may enjoy this easy cherry pie for a classic slice.
Freshness and Storage
Keep these treats chilled in a sealed container for up to 5 days. Because they maintain their structure better when cold, they are much easier to slice into neat squares.
For extended storage, they will last in the freezer for 3 months. Wrap each bar individually in parchment paper and place them in a freezer bag. To serve, thaw them overnight in the refrigerator or heat them in a 300°F oven for 10 minutes to restore the crunch.
To minimize waste, bake any leftover crumble dough on a separate tray for 8 minutes to create tiny butter cookies.
Fun Flavor Twists
You can easily tweak this recipe to fit your mood. The base is neutral enough to handle a few changes without falling apart.
| Goal | What to change |
|---|---|
| Tarter Taste | Add 1 tsp extra lemon juice |
| Extra Crunch | Add 1/4 cup rolled oats to dough |
| Lighter Sweetness | Reduce brown sugar by 2 tbsp |
If you want a more decadent version, try adding a layer of cream cheese mixed with a bit of sugar between the crust and the cherries. It turns the recipe into something closer to a cheesecake bar.
Baking Myths
Some people think that you need to chill the dough for hours to get a flaky crust. That's more for pie crusts with cold butter chunks. Here, we want a sandy crumble, so chilling isn't necessary.
Another common myth is that using a higher temperature will "seal" the fruit faster. In reality, too much heat just burns the edges of the crumble while leaving the center of the filling raw. Stick to 350°F.
Scaling the Recipe
If you need to make a smaller batch, you can halve the ingredients and use a loaf pan. Reduce the final bake time by about 20%, but keep the 10 minute par bake the same.
For a double batch, I recommend baking them in two separate 9x9 pans rather than one giant sheet. If you crowd too much dough into one pan, the center will stay mushy while the edges overcook. When doubling, don't double the salt or almond extract fully; start with 1.5x and taste the filling first.
These Cherry Pie Crumb Bars are a foolproof way to get that homemade bakery feel without spending all day in the kitchen. Once you get the hang of the par bake, you can use this method for blueberry or apple bars too. Trust me, your guests will love the crunch.
Recipe FAQs
How to improve store-bought cherry pie filling for bars?
Stir in lemon juice and almond extract. These additions cut through the sugar and add a professional depth to the fruit layer.
What other cherry desserts can I make with these ingredients?
You could make a fruit crisp using similar components. It offers a similar sweet tart balance but with a different crust style.
Why did my crumb topping sink into the cherries?
The topping usually sinks if it is pressed into the fruit. Sprinkle the crumble loosely across the surface to maintain a distinct, airy layer.
Can I use a different extract instead of almond?
Vanilla extract is a great alternative. It creates a milder flavor profile that appeals to those who prefer traditional sweetness over nutty notes.
How long should these bars cool before slicing?
Allow them to cool in the pan for at least 2 hours. This ensures the filling sets properly so you get clean edges when cutting.
Is it true that I need to roll out a pastry crust for this recipe?
This one's false: You simply press a sandy dough into the pan. There is no rolling or chilling required for this specific base.
Do I have to use brown sugar for the base to be crisp?
Actually, no. Granulated sugar works, but the base will be lighter in color and lack the rich caramel like flavor.
Cherry Pie Crumb Bars