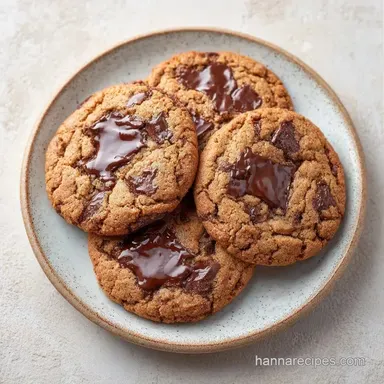
Brown Sugar Chocolate Cookies: Chewy and Soft
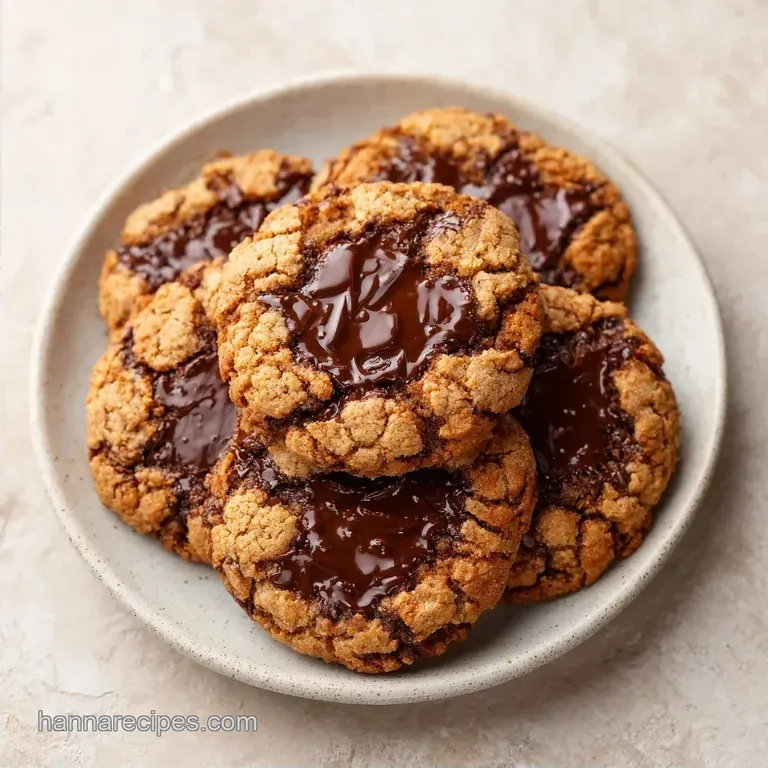
- Time:15 minutes active + 10 minutes baking
- Flavor/Texture Hook: Deeply caramelized edges with a velvety, soft center
- Perfect for: Late night cravings or easy school treats
- The Secret To Chewy Texture
- Ingredient Analysis
- Reasons This Recipe Wins
- Quick Baking Details
- Essential Pantry Ingredients
- Gear For The Job
- The Baking Process
- Common Baking Errors
- Troubleshooting Common Issues
- Flavor Mix ins And Changes
- Keeping Them Fresh
- Serving And Plating
- Recipe FAQs
- 📝 Recipe Card
The smell of browning butter and molasses hitting a hot oven is something else. It's that specific, heady aroma that fills the whole house and makes everyone wander into the kitchen asking if the cookies are done yet.
I remember the first time I tried to make these, I used white sugar instead of dark brown, and they came out like thin, crispy wafers. They weren't bad, but they lacked that chewy, "bend but-don't break" quality that makes a cookie actually feel like a treat.
That's when I realized that the type of sugar isn't just about sweetness, it's about the chemistry of the bake. When you use dark brown sugar, you're adding more molasses, which is acidic and holds onto water. This is what gives Brown Sugar Chocolate Cookies that signature fudge like interior.
If you're looking for something that feels a bit more indulgent than a standard chip cookie, this is the direction to go.
You can expect a cookie that has a slight chew to it, a rich depth of flavor, and chocolate that stays melty long after they leave the oven. We're aiming for a balance where the edges are just barely golden, but the middle still looks a little underdone.
Trust me on that part, because the carryover heat from the baking sheet finishes the job.
The Secret To Chewy Texture
Molasses Retention: Dark brown sugar contains more molasses than light brown, which attracts water and keeps the cookie moist during the bake.
Leavening Reaction: The acidity in the brown sugar reacts with the baking soda, creating small air bubbles that provide lift without making the cookie cakey.
Fat Suspension: Softened butter creates a stable emulsion with the sugars, ensuring the fat doesn't leak out and cause the cookies to puddle on the pan.
Gluten Control: Mixing the flour just until the white streaks disappear prevents the development of too much gluten, which keeps the crumb tender.
| Feature | Fresh Butter Method | Melted Butter Shortcut | Impact on Cookie |
|---|---|---|---|
| Texture | Chewy and puffy | Dense and fudgy | Fresh butter adds more air |
| Spread | Controlled | Wide and thin | Melted butter spreads faster |
| Flavor | Classic buttery | Toffee like | Melting browns the milk solids |
Choosing between these depends on your mood. If you want a traditional, soft baked cookie, stick to the softened butter. If you're in a rush and want something more like a brownie, the melted route works, but you'll lose some of that height.
Ingredient Analysis
| Ingredient | Science Role | Pro Secret |
|---|---|---|
| Dark Brown Sugar | Moisture & Flavor | Pack it tight into the cup for consistent ratios |
| Unsalted Butter | Structure & Richness | Use a thermometer; 65°F (18°C) is the sweet spot |
| Baking Soda | Lift & Browning | Fresh soda prevents a metallic aftertaste |
| All Purpose Flour | Bulk & Stability | Spoon and level to avoid packing too much in |
Understanding these roles helps you avoid common mistakes. For example, using salted butter when the recipe calls for unsalted can throw off the balance, making the cookies taste slightly savory rather than sweet.
Reasons This Recipe Wins
Most cookies fail because they're either too dry or they spread into one giant pancake. These Brown Sugar Chocolate Cookies avoid both by balancing the sugars. By combining granulated white sugar with a larger amount of dark brown sugar, you get the best of both worlds: the crisp edges from the white sugar and the chewy heart from the brown.
It's also about the chocolate. Using semi sweet chips or chunks provides a necessary bitter contrast to the heavy caramel notes of the molasses. If you use milk chocolate, the whole thing can become cloyingly sweet. The salt is another non negotiable here; it cuts through the fat and makes the chocolate flavor pop.
Finally, this recipe is designed for the home kitchen. You don't need a professional oven or fancy equipment. As long as you can follow a few simple checkpoints, you'll get consistent results every time. It's a foolproof way to get that bakery style quality without the bakery price tag.
Quick Baking Details
Since we're focusing on precision, let's look at the numbers. This recipe yields about 44 cookies, which is plenty for a party or for freezing. The prep time is a quick 15 minutes, and they only stay in the oven for about 10 minutes.
One thing to keep in mind is the total time. While the active work is minimal, the window for doneness is very small. A minute too long in the oven can turn a chewy cookie into a hard one. According to King Arthur Baking, the internal temperature and the sugar's state of caramelization are what determine the final texture.
The total time is 25 minutes from start to finish. If you decide to chill the dough, that will add time, but as we'll discuss later, it can change the flavor profile for the better.
Essential Pantry Ingredients
For the best results, gather these exactly as listed. Using metric weights is always safer if you have a scale, as cups can be unreliable.
- 1 cup (225g) unsalted butter, softened Why this? Provides the base structure and richness
- 1 ½ cups (300g) dark brown sugar, packed Why this? Adds moisture and caramel flavor
- ½ cup (100g) granulated white sugar Why this? Helps with the crisp edges
- 2 large eggs, room temperature Why this? Binds ingredients and adds lift
- 2 tsp (10ml) vanilla extract Why this? Rounds out the sweetness
- 3 cups (375g) all purpose flour Why this? Standard protein for a soft crumb
- 1 tsp (5g) baking soda Why this? Reacts with brown sugar for lift
- ½ tsp (3g) salt Why this? Balances the sugar
- 2 cups (340g) semi sweet chocolate chips or chunks Why this? Classic flavor pairing
| Original Ingredient | Substitute | Why It Works |
|---|---|---|
| Dark Brown Sugar | Light Brown Sugar | Similar profile. Note: Less molasses, so cookies will be lighter in color and slightly less chewy |
| Semi Sweet Chips | Dark Chocolate Chunks | More cocoa mass. Note: More bitter and rich, reduces overall sweetness |
| All Purpose Flour | gluten-free 1:1 Blend | Mimics wheat starch. Note: Texture may be slightly more sandy/crumbly |
When swapping ingredients, remember that baking is essentially a chemistry experiment. Changing the acidity or the fat content can change how the cookie spreads.
Gear For The Job
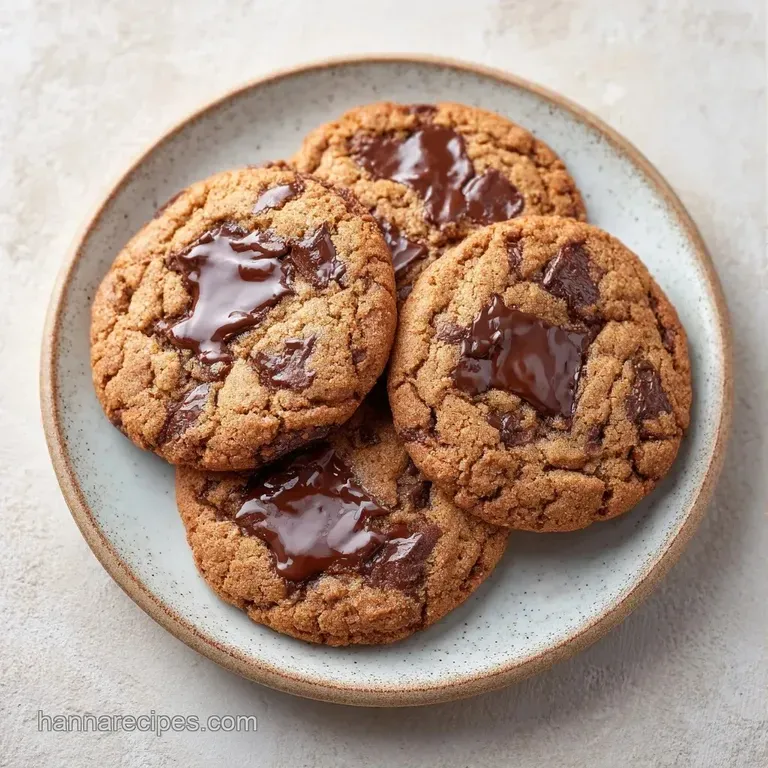
You don't need a mountain of gadgets, but a few specific tools make the process a lot smoother. A stand mixer is great for the creaming stage, but a handheld mixer or even a sturdy whisk and some elbow grease will work fine.
I recommend using parchment paper or silicone mats. Greasing a pan with butter or spray often leads to uneven browning on the bottom. Parchment ensures the heat distributes evenly, giving you that uniform golden color.
A cookie scoop is a lifesaver here. It ensures every cookie is the same size, which means they all bake at the same rate. If you're scooping by hand with a tablespoon, try to be as consistent as possible so you don't end up with some burnt small ones and some raw big ones.
The Baking Process
Let's get into it. Follow these steps closely to ensure your Brown Sugar Chocolate Cookies turn out exactly right.
- Preheat your oven to 350°F (175°C). Note: Let it fully reach temp so the cookies set immediately
- In a large bowl, beat the softened butter, dark brown sugar, and granulated white sugar together until the mixture is pale and fluffy. Note: This incorporates air, preventing a dense cookie
- Beat in the eggs one at a time, then stir in the vanilla extract. Note: Adding eggs slowly prevents the batter from breaking
- In a separate bowl, whisk together the all purpose flour, baking soda, and salt. Note: This ensures the leavening is evenly distributed
- Slowly add the dry ingredients to the wet mixture, mixing on low speed or by hand until no more streaks of white flour are visible. Stop mixing immediately when the flour disappears.
- Gently fold in the semi sweet chocolate chips using a spatula. Note: Folding prevents overworking the dough
- Scoop rounded tablespoons of dough onto parchment lined baking sheets, leaving 2 inches of space between each cookie.
- Bake for 9–11 minutes until the edges are golden brown but the centers still look slightly soft.
Chef's Note: If your kitchen is very warm, the dough might get too soft. Pop the tray in the fridge for 10 minutes before baking to prevent the cookies from spreading too much.
Common Baking Errors
Baking can be finicky, and it's easy to make a small mistake that changes the whole outcome. The most common issue is overmixing. When you stir the flour in too long, you develop too much gluten, and your cookies end up tough and bread like instead of tender.
Another frequent problem is oven temperature. If your oven runs hot, the edges will burn before the middle is set. I always suggest using an oven thermometer to verify the actual heat inside.
Troubleshooting Common Issues
| Issue | Solution |
|---|---|
| Why Your Cookies Spread Too Much | This usually happens because the butter was too soft (almost melted) or the flour wasn't measured correctly. |
| Why Your Cookies Are Too Flat | Similar to spreading, this can be caused by old baking soda. If the soda has lost its potency, the cookies won't rise, and they'll just melt into a puddle. Always check the date on your baking soda. |
| Why Your Cookies Are Dry | Overbaking is the culprit here. Because these cookies have a lot of sugar, they continue to cook on the hot pan after you take them out. |
Mistakes Checklist:
- ✓ Did I cream the butter and sugar until fluffy?
- ✓ Did I stop mixing as soon as the flour disappeared?
- ✓ Are my eggs at room temperature?
- ✓ Did I remove them while the centers still looked soft?
- ✓ Is there enough space (2 inches) between the dough balls?
Flavor Mix ins And Changes
Once you've got the base down, you can start playing with the flavors. If you want a deeper, nuttier profile, try adding a teaspoon of espresso powder to the dry ingredients. It doesn't make them taste like coffee, but it makes the chocolate taste more intense.
For a bit of crunch, toasted pecans or walnuts are a great addition. Just fold them in at the same time as the chocolate chips. If you're feeling adventurous, a pinch of flaky sea salt on top immediately after baking adds a professional touch.
If you want a different style of cookie entirely, you might enjoy my classic homemade cookies which have a slightly different balance of chew. Or, if you're in the mood for something more complex, a traditional Black Forest cake is a great way to use that same love for chocolate.
Decision Shortcut:
- If you want them fudgier: Use dark chocolate chunks instead of chips.
- If you want them crispier: Bake for an extra 2 minutes.
- If you want a caramel taste: Use extra dark brown sugar.
Keeping Them Fresh
Since these cookies have a high moisture content from the brown sugar, they stay soft longer than most. Store them in an airtight container at room temperature for up to 5 days. I like to put a small piece of white bread in the container; the cookies absorb the moisture from the bread and stay soft.
For long term storage, you can freeze either the baked cookies or the raw dough. I prefer freezing the raw dough balls. Just place them on a tray to freeze individually, then toss them into a freezer bag.
When you're ready for a treat, you can bake the frozen dough balls directly. Just add 1-2 minutes to the baking time. To reheat a baked cookie, 10 seconds in the microwave makes the chocolate melty again.
Serving And Plating
These are classic "glass of milk" cookies, but you can make them feel more special. For a party, stack them in a pyramid on a cake stand and dust them lightly with powdered sugar.
If you're serving them as part of a dessert platter, pair them with fresh raspberries or sliced strawberries. The acidity of the fruit cuts through the richness of the Brown Sugar Chocolate Cookies perfectly.
For a real treat, serve a warm cookie with a scoop of vanilla bean ice cream on top. The way the ice cream melts into the warm chocolate is pure magic. Just make sure the cookies have cooled for at least 5 minutes so the ice cream doesn't vanish instantly.
Recipe FAQs
Can I use brown sugar instead of white sugar for chocolate chip cookies?
Yes, but the texture will change. Using only brown sugar creates a softer, moister cookie; if you prefer a different balance of chocolate and vanilla, try our chewy chocolate cookies.
How to make chewy chocolate chip cookies?
Bake for 9 11 minutes at 350°F. Remove them when edges are golden but centers remain soft to ensure a chewy finish.
What happens if you only use brown sugar in cookies?
The cookies become denser and more moist. You lose the crisp, caramelized edges provided by granulated white sugar.
How to make thick chocolate chip cookies?
Measure flour accurately and use softened butter. Over softened butter or insufficient flour causes the dough to collapse and spread.
What are some common brown sugar cookie mistakes?
Overmixing the dough and using old baking soda. Overmixing makes cookies tough, while expired soda prevents them from rising.
Is it true that cookies only spread if the oven temperature is too high?
No, this is a common misconception. Spreading is typically caused by butter that is too soft or improper flour measurement.
How to make the best chocolate chip cookies?
Beat the butter and sugars until pale and fluffy. This incorporates the air needed for a professional lift and texture.
Brown Sugar Chocolate Cookies