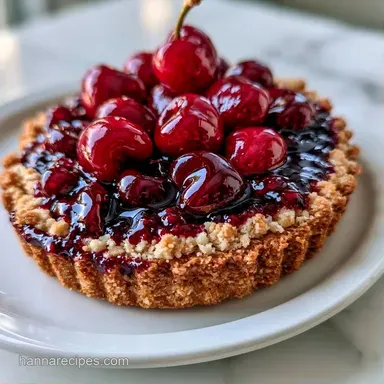
Old Fashioned Fresh Cherry Cobbler
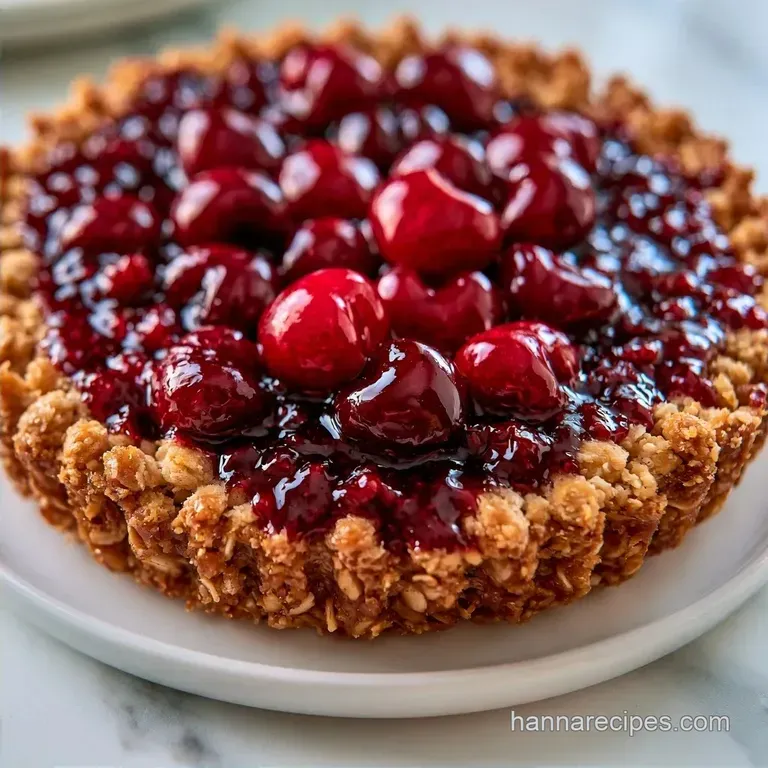
- Time: 15 min active + 40 min baking
- Flavor/Texture Hook: Tart, bubbling cherries under a mahogany brown crust
- Perfect for: Summer family gatherings or a cozy Sunday dessert
- How to Bake a Great Cherry Cobbler
- Ingredient Deep Dive
- Ingredients & Substitutes
- Equipment You'll Need
- Steps for the Best Bake
- Fixing Common Baking Problems
- Ways to Change the Recipe
- Storage and Leftover Tips
- Method Comparison
- Plating and Serving Ideas
- Baking Truths
- Why This Method Works
- Recipe FAQs
- 📝 Recipe Card
The scent of warm cinnamon and bursting cherries is the smell of summer in my house. Cobblers have a long history in American culture, born from pioneers who didn't always have a proper pie pan. They just dumped fruit in a pot and topped it with a quick dough, creating a rustic comfort food that tastes like home.
I once tried to rush this process and ended up with what I call "cherry soup." I skipped the resting time for the fruit and the dough just floated on top like a lonely island. It taught me that patience with the fruit is just as important as the oven temperature.
You can expect a dessert that balances the bright acidity of fresh cherries with a velvety, buttery topping. This Cherry Cobbler doesn't rely on canned fillers, so you get a clean, fresh taste that makes the fruit the star.
How to Bake a Great Cherry Cobbler
Let's dive into the details. This recipe is designed for a 10 inch cast iron skillet, which helps the heat reach the edges of the crust evenly.
For optimal results, keep your butter and buttermilk chilled. If the butter softens prematurely, you'll lose the pockets of steam that help the biscuits rise. Trust me, that temperature contrast is exactly what creates the ideal texture.
Now, let's go over the requirements.
Ingredient Deep Dive
The chemistry of this bake depends on the interaction between the acidity in the buttermilk and the baking powder. This creates a lift that keeps the topping from becoming a dense brick.
Cold Butter: Keeping butter cold creates steam pockets that lift the layers. Buttermilk: The acid tenderizes the gluten for a softer crumb.
| Ingredient | Role | If You Don't Have It |
|---|---|---|
| Fresh Cherries | Main flavor and bulk | Frozen cherries (thaw first) |
| Cornstarch | Thickens the fruit juices | Arrowroot powder (1:1 ratio) |
| Buttermilk | Adds lift and tang | Milk + 1 tbsp lemon juice |
| Cold Butter | Creates flaky texture | Chilled coconut oil (firmer) |
Using fresh fruit is the goal here, but frozen cherries work if you're out of season. Just make sure they are thawed and drained slightly so the filling doesn't get too watery.
Ingredients & Substitutes
To prepare this Cherry Cobbler, you'll need a handful of basic ingredients and a generous amount of fresh fruit.
- 6 cups (1.3kg) fresh cherries, halved and pitted Purpose: Offers natural acidity and body
- 1/2 cup (100g) granulated sugar (for filling) Purpose: Helps release the fruit's juices
- 2 tbsp (16g) cornstarch Purpose: Thickens the juices into a glossy sauce
- 1 tbsp (15ml) fresh lemon juice Purpose: Enhances the brightness of the dish
- 1 tsp (2g) ground cinnamon Purpose: Brings in a hint of warm spice
- 2 cups (250g) all purpose flour Purpose: Creates a stable base for the crust
- 1 tbsp (12g) baking powder Purpose: Acts as the main lifting agent
- 1/2 cup (100g) granulated sugar (for topping) Purpose: Encourages a golden brown finish
- 1/2 tsp (3g) salt Purpose: Offsets the sweetness
- 1/2 cup (115g) cold unsalted butter, cubed Purpose: Essential for creating a flaky texture
- 1 cup (240ml) cold buttermilk Purpose: Ensures a tender crumb
- 1 tbsp (15ml) melted butter Purpose: Adds a final golden touch
Equipment You'll Need
While you can get by with basic gear, a few particular items simplify things. A 10 inch cast iron skillet is ideal since it retains heat more effectively than glass.
To incorporate the butter into the flour, a pastry cutter is my top choice. Your fingers are a great substitute if you lack one, just work quickly so the warmth of your hands doesn't melt the butter.
For the batter, just grab a whisk and a large mixing bowl. Chilling the bowl beforehand can help ensure your ingredients stay at the ideal temperature.
Steps for the Best Bake
Follow these steps closely to ensure the topping doesn't sink into the fruit.
Macerating the Fruit
- Toss the pitted cherries for the Cherry Cobbler with sugar, cornstarch, lemon juice, and cinnamon in the cast iron skillet.
- Let the mixture sit for 10 minutes until the fruit releases its natural juices and looks glossy. Note: This prevents the filling from being too runny.
Creating the Rubbed In Topping
- Whisk together the flour, baking powder, sugar, and salt in a large mixing bowl.
- Use a pastry cutter or fingers to work the cold cubed butter into the flour until the mixture resembles coarse crumbs with pea sized chunks remaining. Note: Refer to King Arthur Baking for the best technique on "rubbing in" fats.
- Stir in the cold buttermilk until just combined. Stop as soon as the flour disappears to avoid a tough crust.
Assembly and Bake
- Dollop the batter over the Cherry Cobbler filling, spreading it gently to the edges but leaving some gaps for the fruit to bubble through.
- Brush the top of the batter with melted butter.
- Bake at 375°F (190°C) for 35-40 minutes until the topping is mahogany colored and the filling is bubbling vigorously around the edges.
Fixing Common Baking Problems
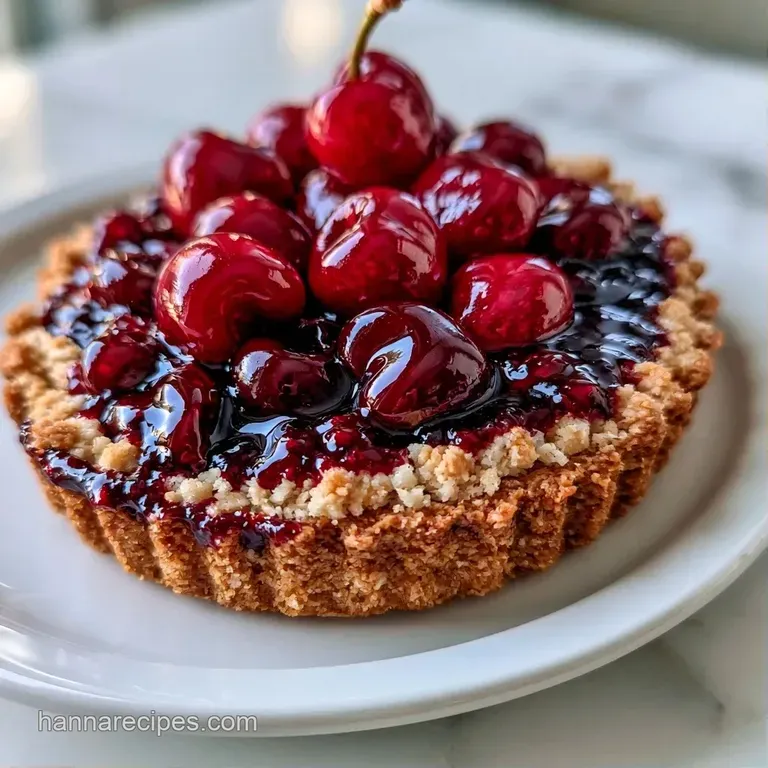
A runny Cherry Cobbler is the most common issue, usually caused by too much moisture in the fruit or not enough thickener. According to the principles of starch gelatinization mentioned by Serious Eats, cornstarch needs heat and a bit of time to bond.
Runny Filling Fixes
If your filling is too liquid, it usually means the cherries were extra juicy. Increase the cornstarch by 1 tablespoon next time. Ensure the 10 minute resting period happens before the bake.
Dense Crust Fixes
A heavy, bread like topping happens when you overmix the buttermilk. Stir only until the streaks of flour are gone. If the butter was too warm, you'll lose the flakiness, so keep those cubes chilled.
| Problem | Fix |
|---|---|
| Filling too liquid | Add 1 tbsp more cornstarch |
| Topping too dense | Do not overmix the batter |
| Pale crust | Brush with more melted butter |
| Burnt bottom | Move skillet to upper rack |
Ways to Change the Recipe
You can easily tweak this to fit your mood. If you want something with a different texture, try this Cherry Crumble recipe which uses a streusel instead of a biscuit.
For a different flavor profile, add 1/2 teaspoon of almond extract to the cherries. Almond and cherry are natural partners and it adds a sophisticated depth.
If you're looking for a dairy-free version, swap the buttermilk for a mix of soy milk and lemon juice. Use a chilled vegan butter block for the rubbing in process to keep the texture consistent.
Decision Shortcut:
- More tart? → add 1 tsp lemon zest
- Extra crunch? → sprinkle 1 tbsp coarse sugar on top
- Deeper color? → bake 2 mins longer
Storage and Leftover Tips
While this Cherry Cobbler is delicious when warm, it stores beautifully. Keep any extra portions chilled in a sealed container for as long as 4 days. For a firmer dessert option, try my Cherry Pie recipe to make use of fresh seasonal fruit.
When warming it back up, steer clear of the microwave to prevent a soggy crust. Instead, heat it in the oven at 300°F (150°C) for 10-15 minutes, or until the edges start to sizzle.
To freeze, allow the cobbler to cool down entirely. Cover securely with foil and keep it in the freezer for up to 3 months. Let it defrost in the refrigerator overnight, then warm it through in the oven.
Method Comparison
| Feature | Oven Method | Stovetop Method |
|---|---|---|
| Crust Texture | Flaky and browned | Soft and steamed |
| Heat Distribution | Even, top down | Bottom up, uneven |
| Effort Level | Medium | High (requires monitoring) |
Plating and Serving Ideas
Present the Cherry Cobbler in its cast iron skillet to achieve a rustic feel. This method also ensures the dessert stays hot.
Vanilla bean ice cream is the traditional accompaniment, with the cold cream melting into the hot fruit for a decadent contrast. Alternatively, try a light topping of unsweetened whipped cream or a swirl of crème fraîche.
When serving a group, use a large spoon to dish out portions, ensuring each guest receives a bit of the golden brown crust and plenty of the cherry filling.
Baking Truths
Some people believe that canned pie filling is a reliable shortcut. In reality, it often tastes metallic and lacks the bright acidity of fresh fruit. A classic Cherry Cobbler needs that tart pop to balance the butter.
Another common idea is that you should "cream" the butter and sugar together. For a cobbler, this is a mistake. You want cold, pea sized chunks of butter to create steam, not a smooth paste.
Why This Method Works
The Cherry Cobbler trap most people fall into is ignoring the temperature of their fats. When butter is cold, it doesn't integrate fully into the flour.
As the bake happens, those butter chunks melt and release steam. This pushes the dough upward, creating a light, airy biscuit.
By letting the cherries sit with sugar and cornstarch first, you create a stable syrup. This ensures the fruit doesn't separate from the topping during the bake.
Enjoy your Cherry Cobbler.
Recipe FAQs
How to prepare fresh cherries for a cobbler?
Pit and halve the cherries. Toss them with sugar, cornstarch, lemon juice, and cinnamon and let them sit for 10 minutes until they look glossy.
What's the difference between a cherry crisp and a cherry cobbler?
Cobblers have a soft, biscuit like batter topping, whereas crisps use a crunchy oat and butter crumble. This results in a more cake like texture for the cobbler.
Where can I use a surplus of fresh cherries?
Transform them into various baked treats like cobblers or pies. If you enjoyed managing the fruit-to-sugar ratio here, apply that same balance to these cherry crumb bars.
Which errors should I avoid when making cobblers?
Overmixing the batter is a frequent mistake that leads to a tough crust. Also, failing to let the cherries sit before baking prevents the filling from becoming glossy.
Is it true that you need store-bought filling to get a thick texture?
This one's false: the combination of cornstarch and letting the fresh fruit sit releases enough natural pectin for a thick syrup. It tastes fresher and is easier to control.
Why add lemon juice to the cherry filling?
It brightens the fruit's natural flavor by cutting through the sweetness of the sugar. This creates a more balanced and vibrant taste.
Fresh Cherry Cobbler